
When you customize SharePoint List Form using Power Apps you would probably prefer to complete it on test environment and them migrate or export to production. Unfortunately, currently there is no direct point-and-click way to do that. In this post I want to describe the steps to export your custom form, even if you have lookup columns or additional SharePoint connections. Tomasz Poszytek has a great post how to do the export/import. And these steps are enough if you don't have additional SharePoint connections inside your app, or if you don't want to rename the data sources. If you do have either of these requirements, you'll need to proceed with additional steps. But let's start from the beginning.
[UPDATE] You can use Flow and Power Apps Migrator created by Denis Molodtsov to simplify the migration.
Export Power Apps App
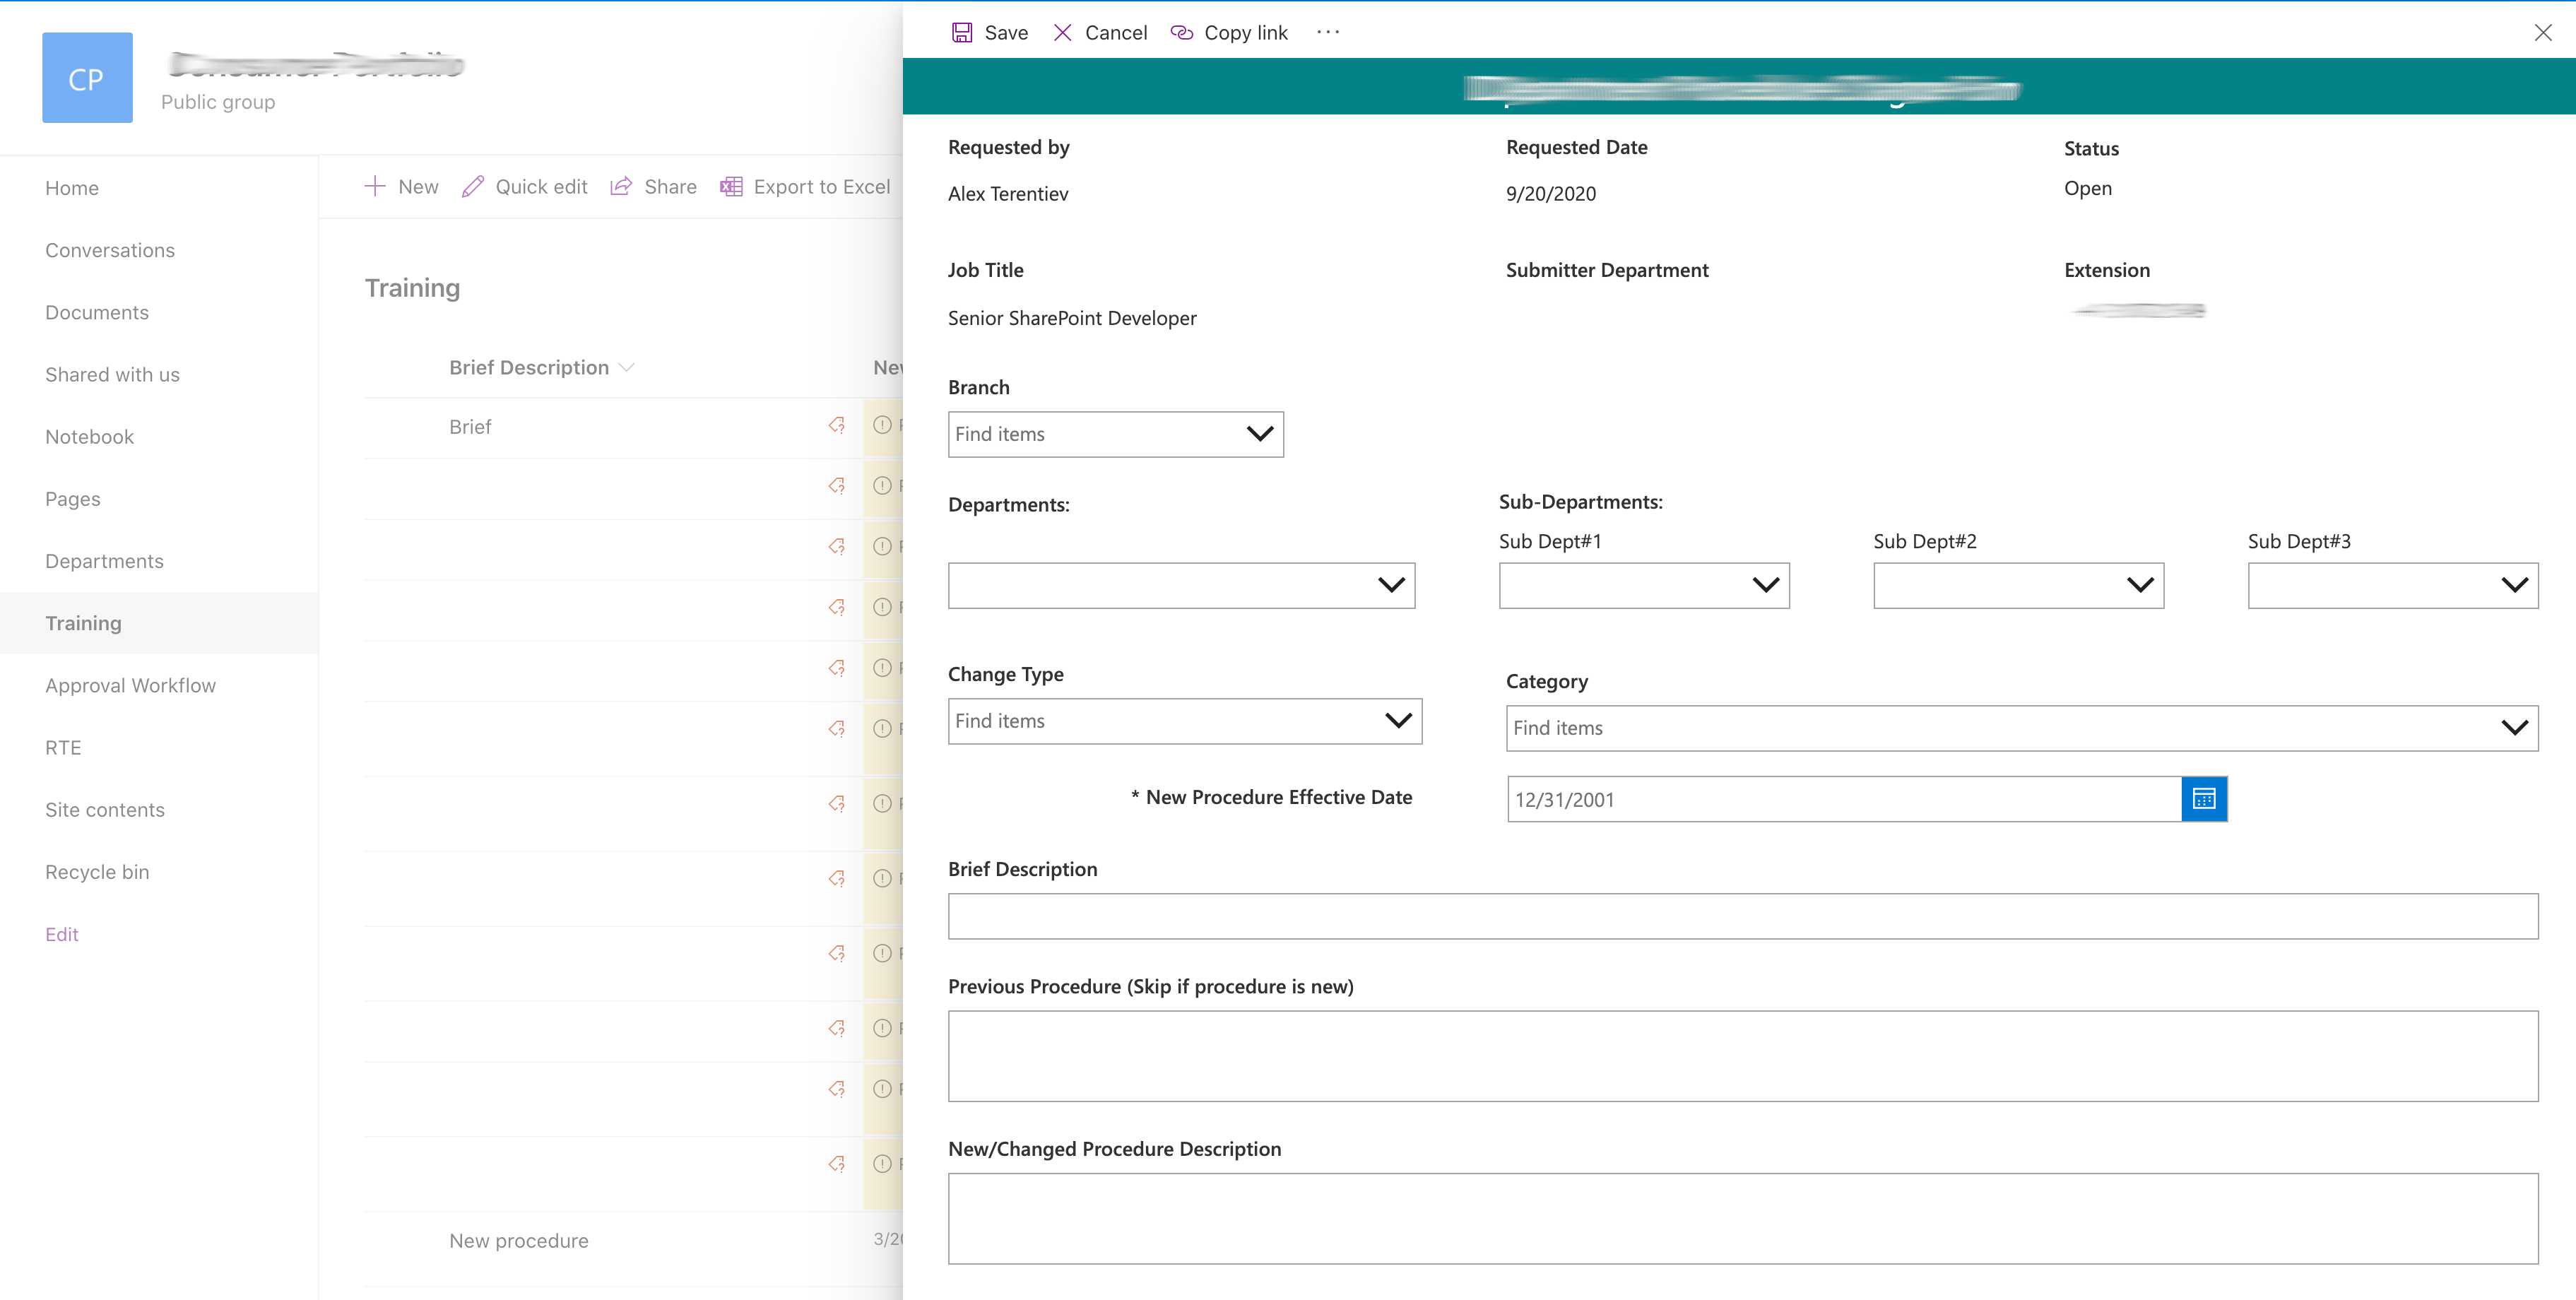
After your custom form is ready, you'll need to export it.
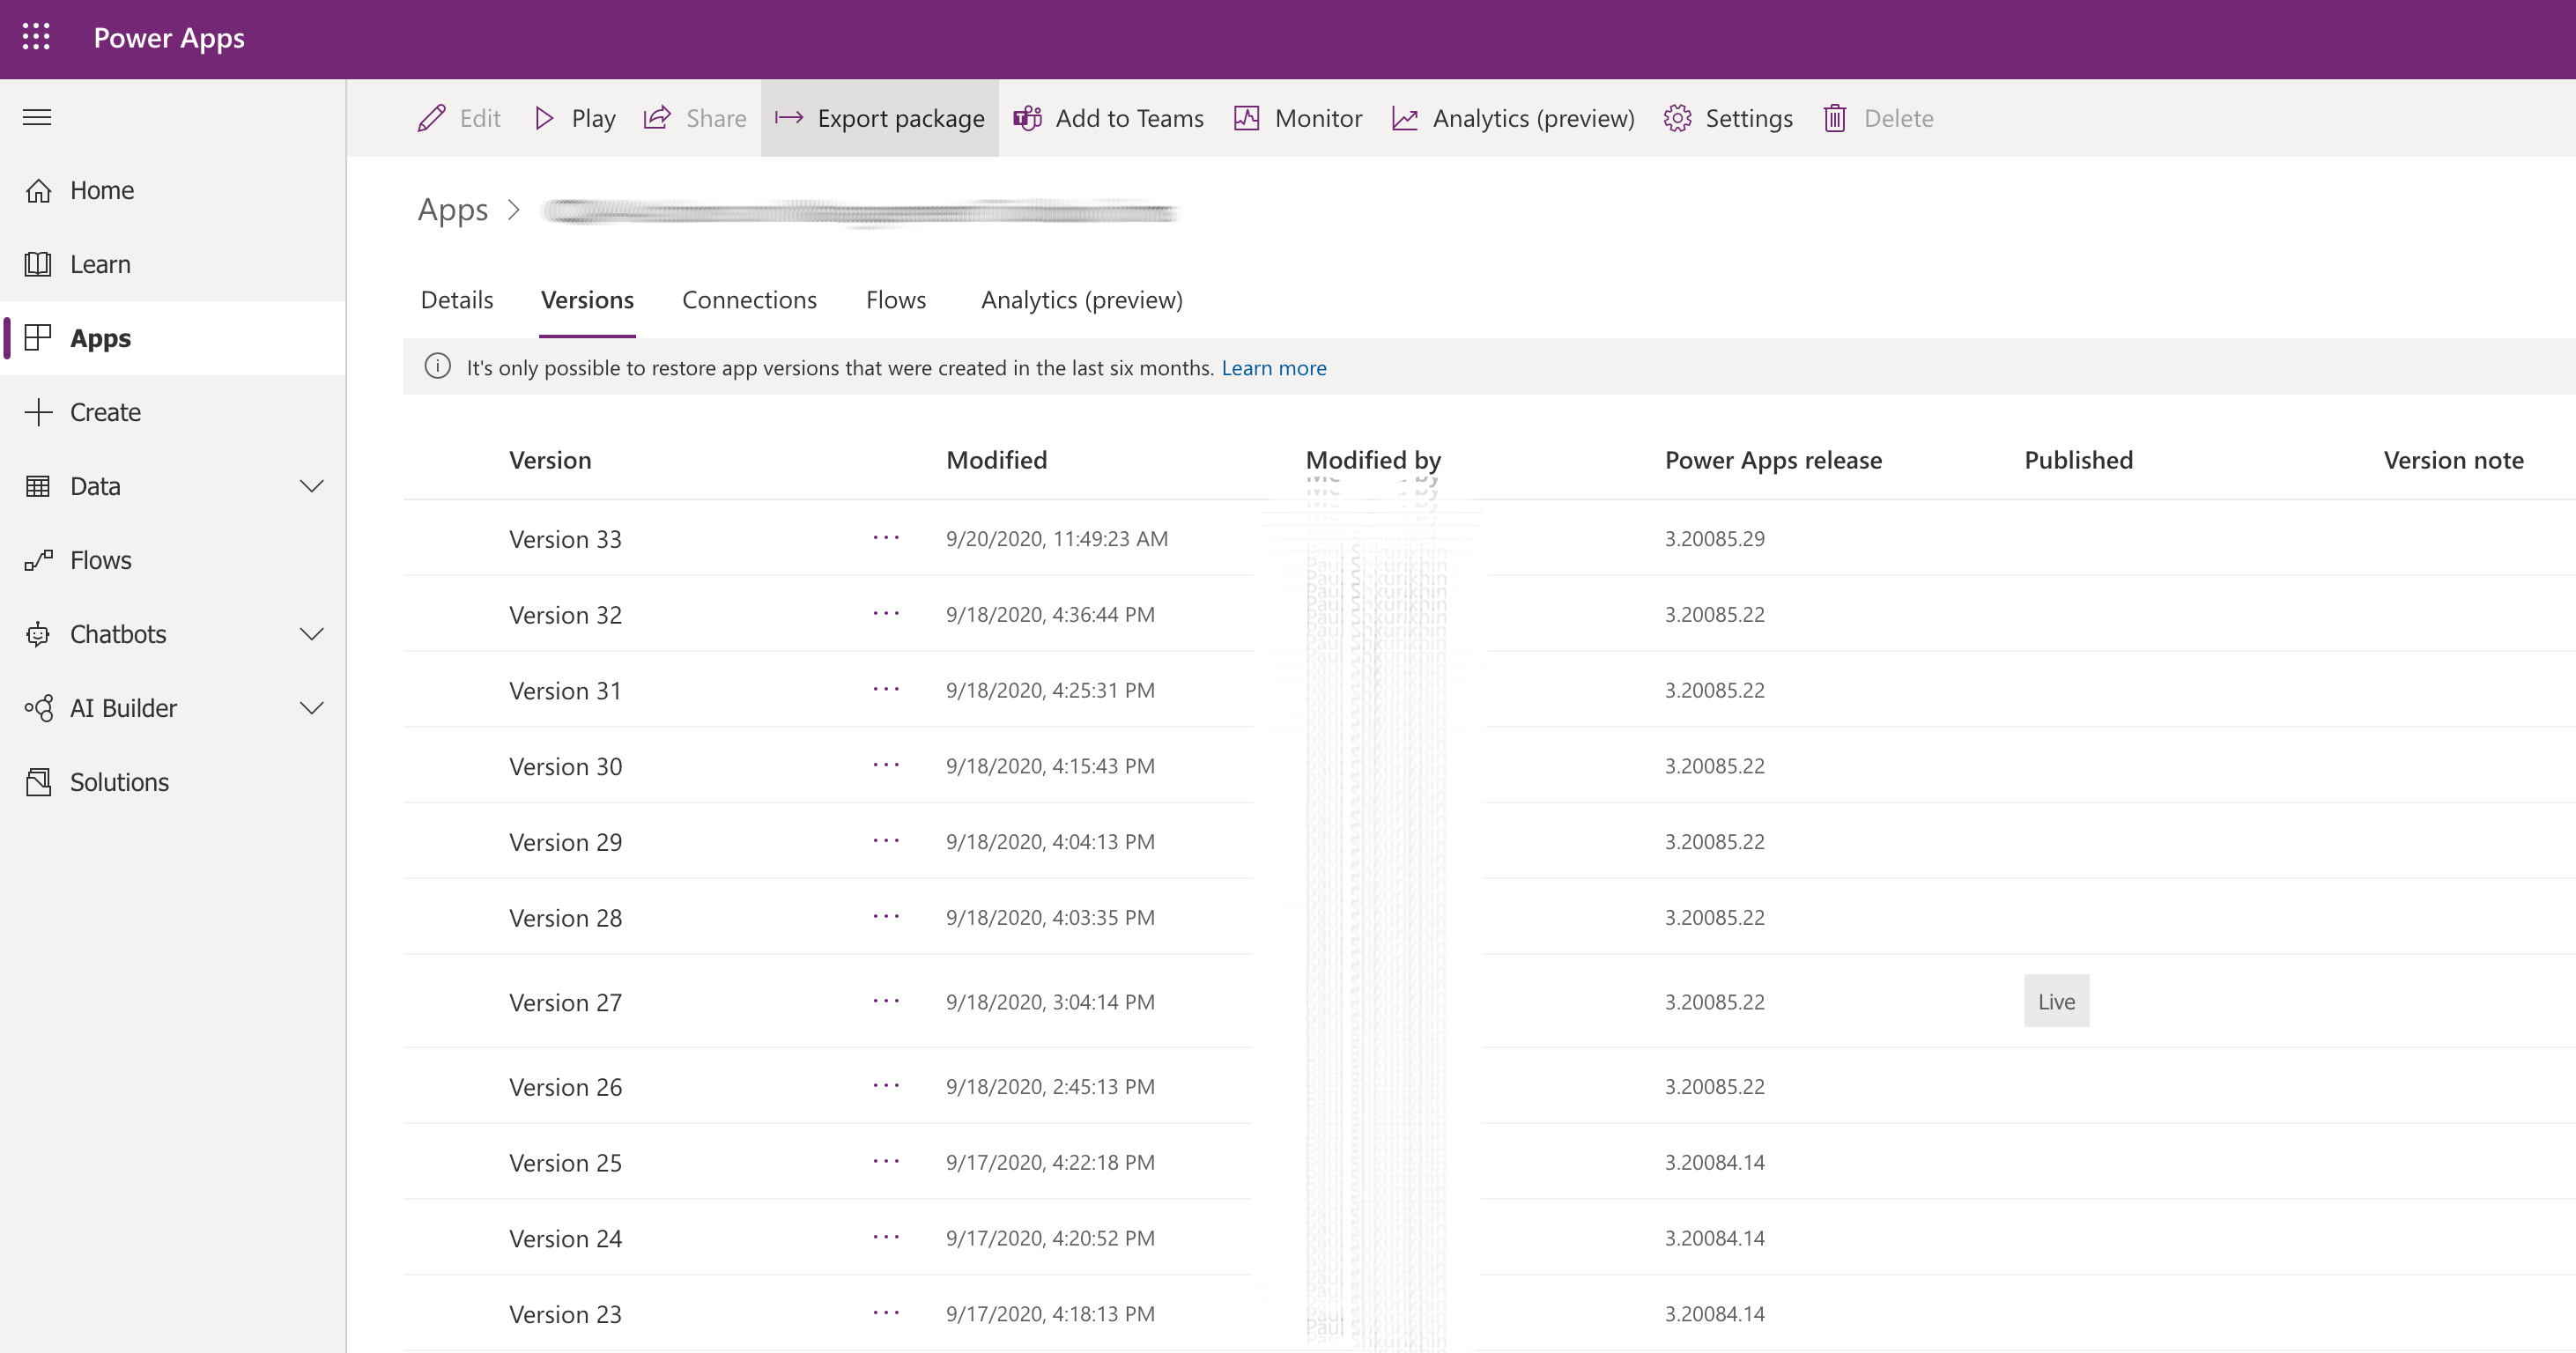
It is done in Power Apps Studio: go to File -> Save and click on See all versions.

Click Export package in the command bar on the App Details page:
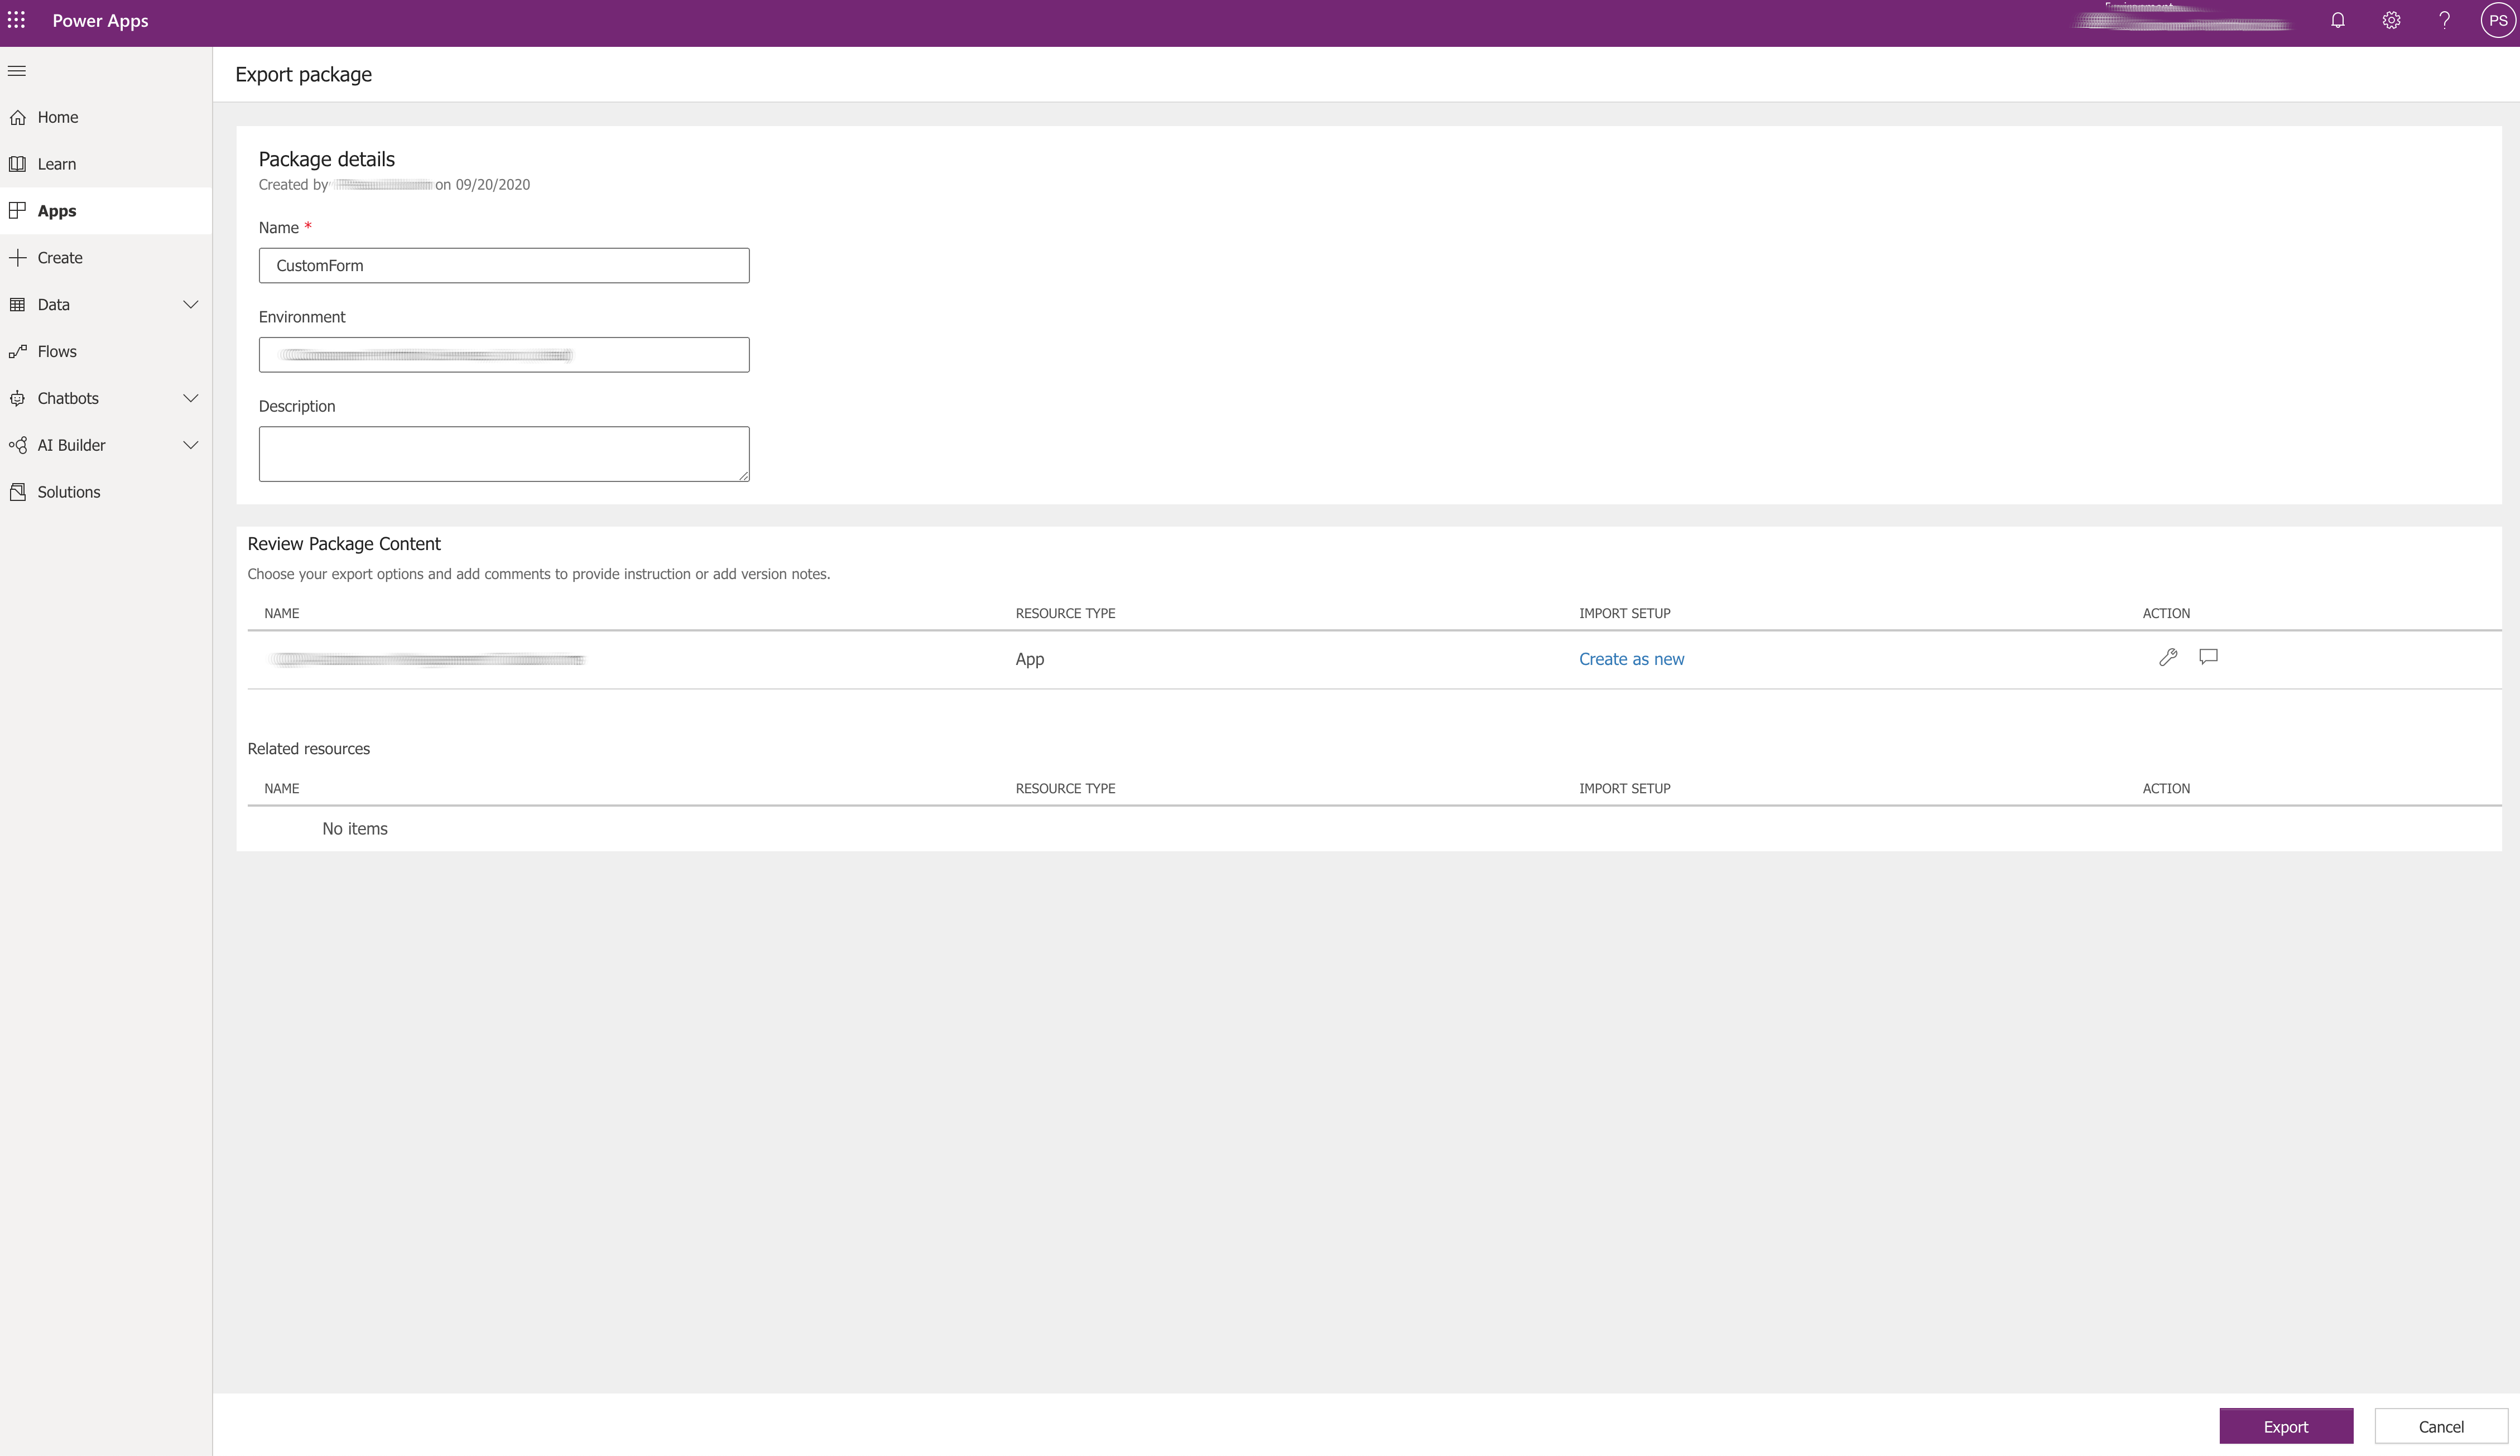
Now, enter Name of the package and select Import Setup configuration: either Create as New, or Update. Click Export. It will generate a .zip file downloaded to your machine.
Modifying the Package
Next step is to modify the package (generated .zip archive) to update SharePoint connections.
Updating Connection References and Embedded App Info
First thing to do is to modify connectionReferences and embeddedApp sections of the app.
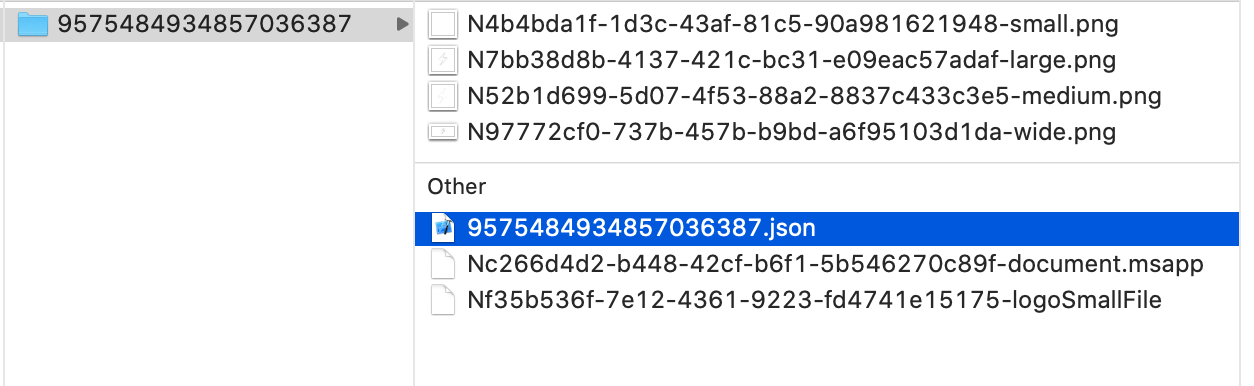
Open .zip and navigate to Microsoft.PowerApps/apps/<numeric-value> folder. There you'll find the only .json file.
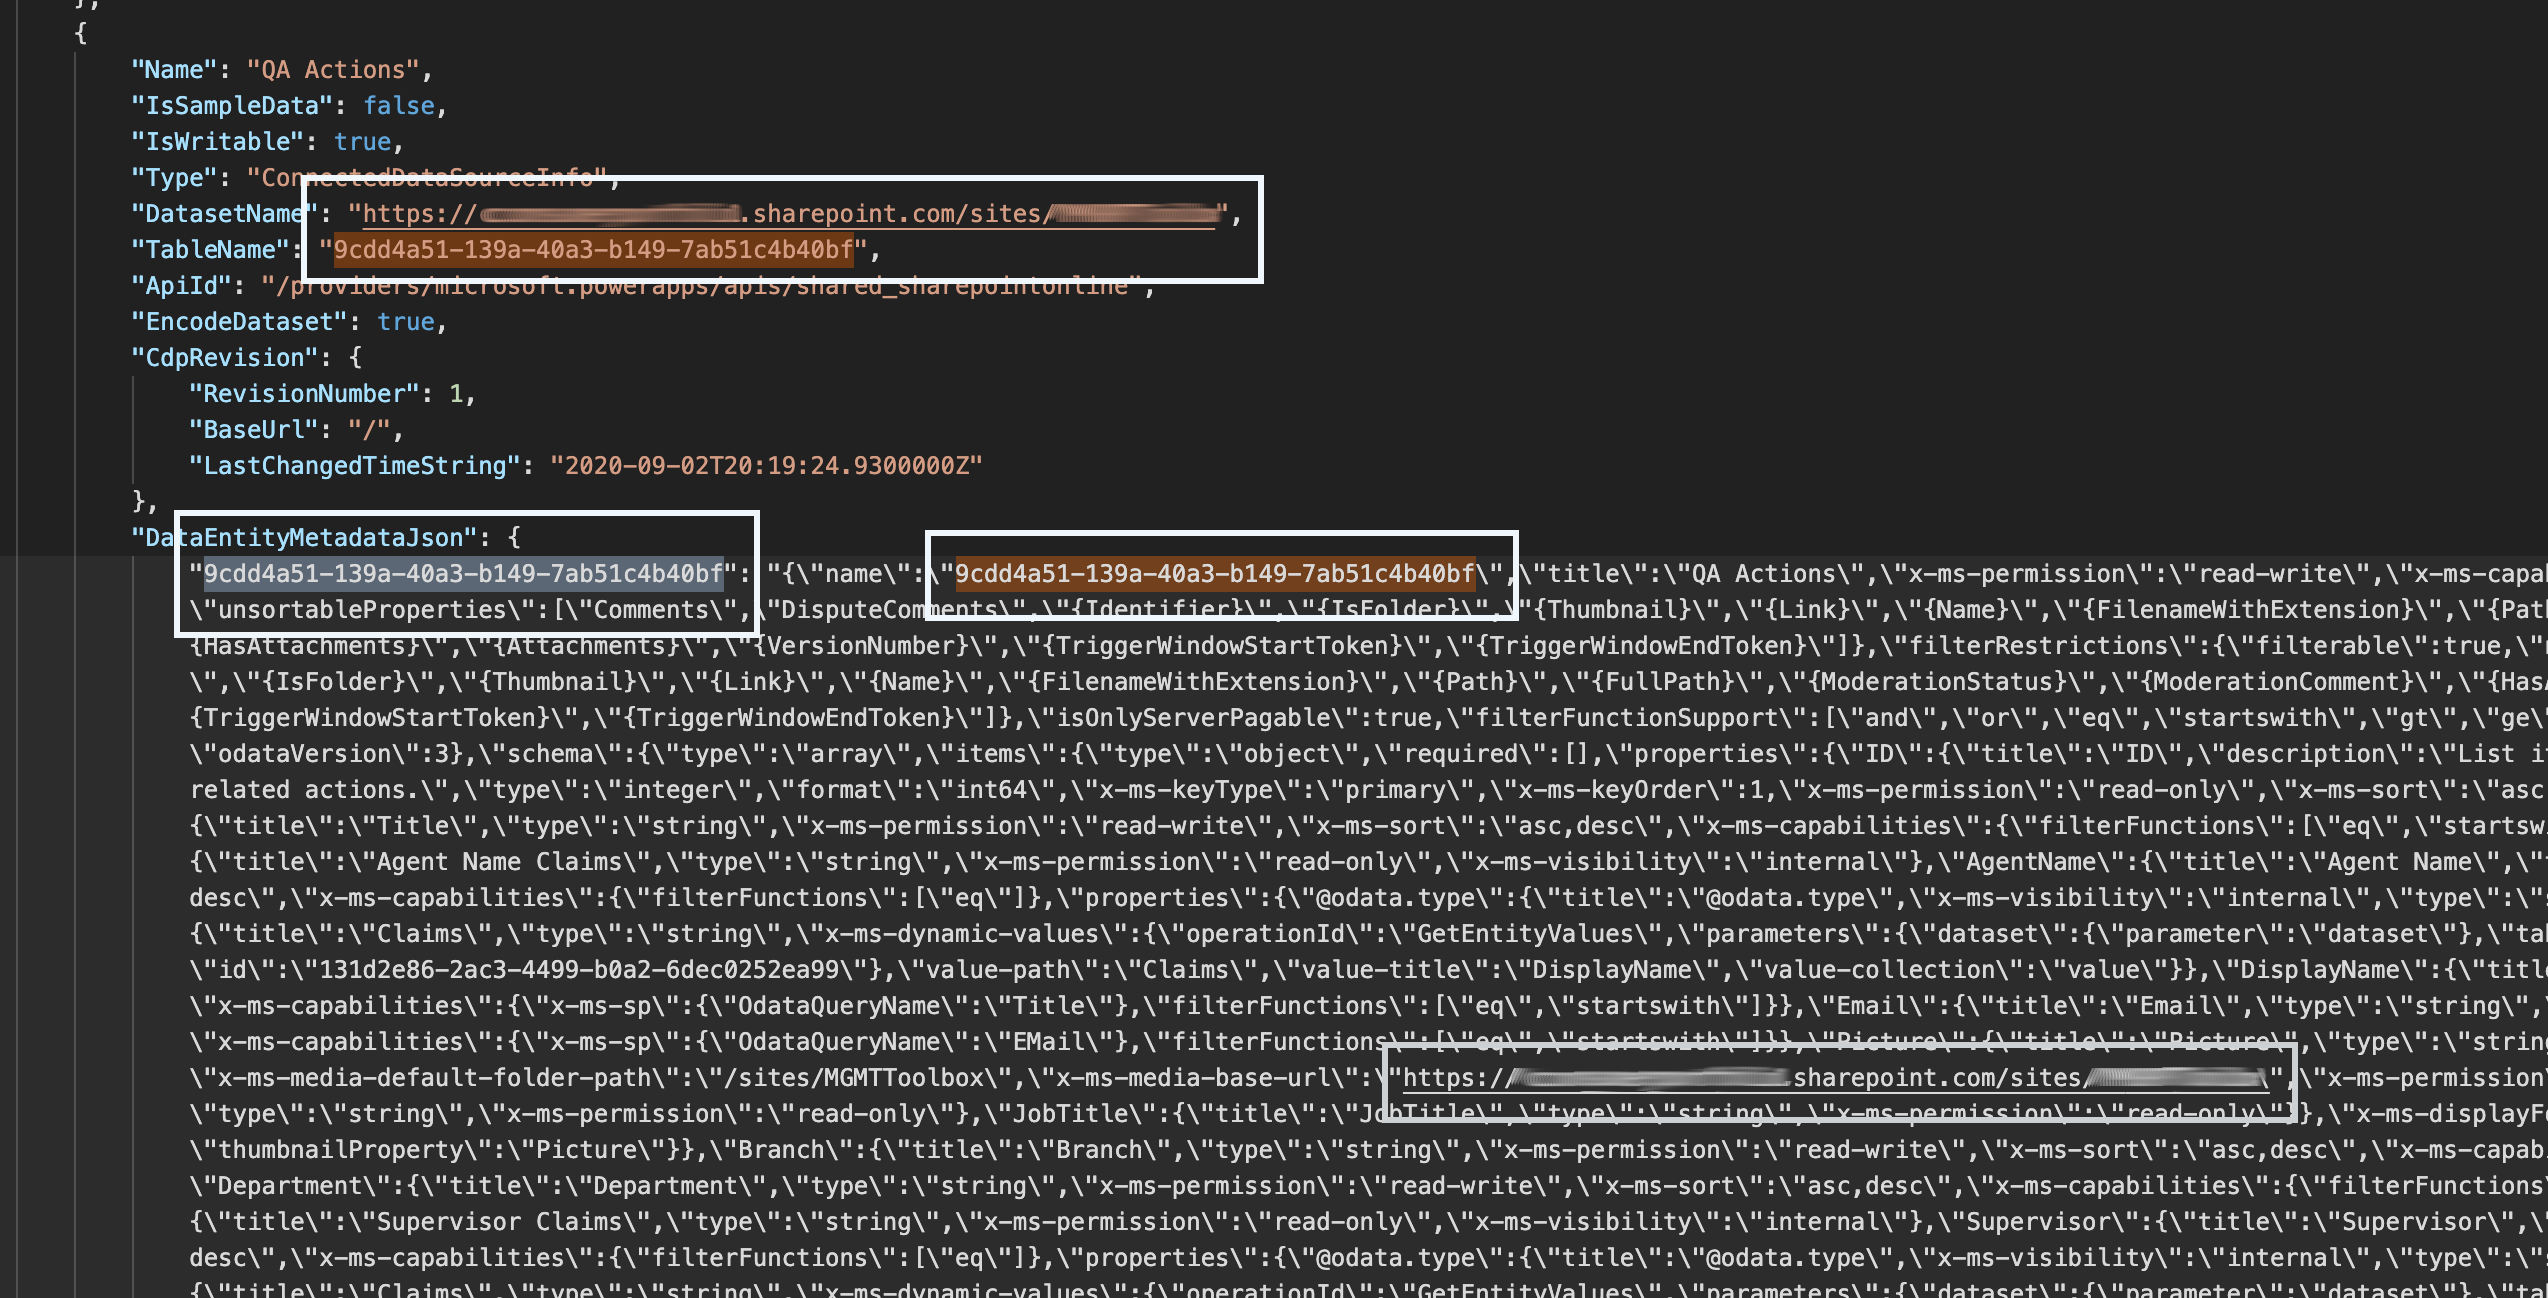
Open it and find connectionReferences section. It contains all the connections in your app, including SharePoint lists connections, and others (for example, Azure AD connection, or Outlook connection).
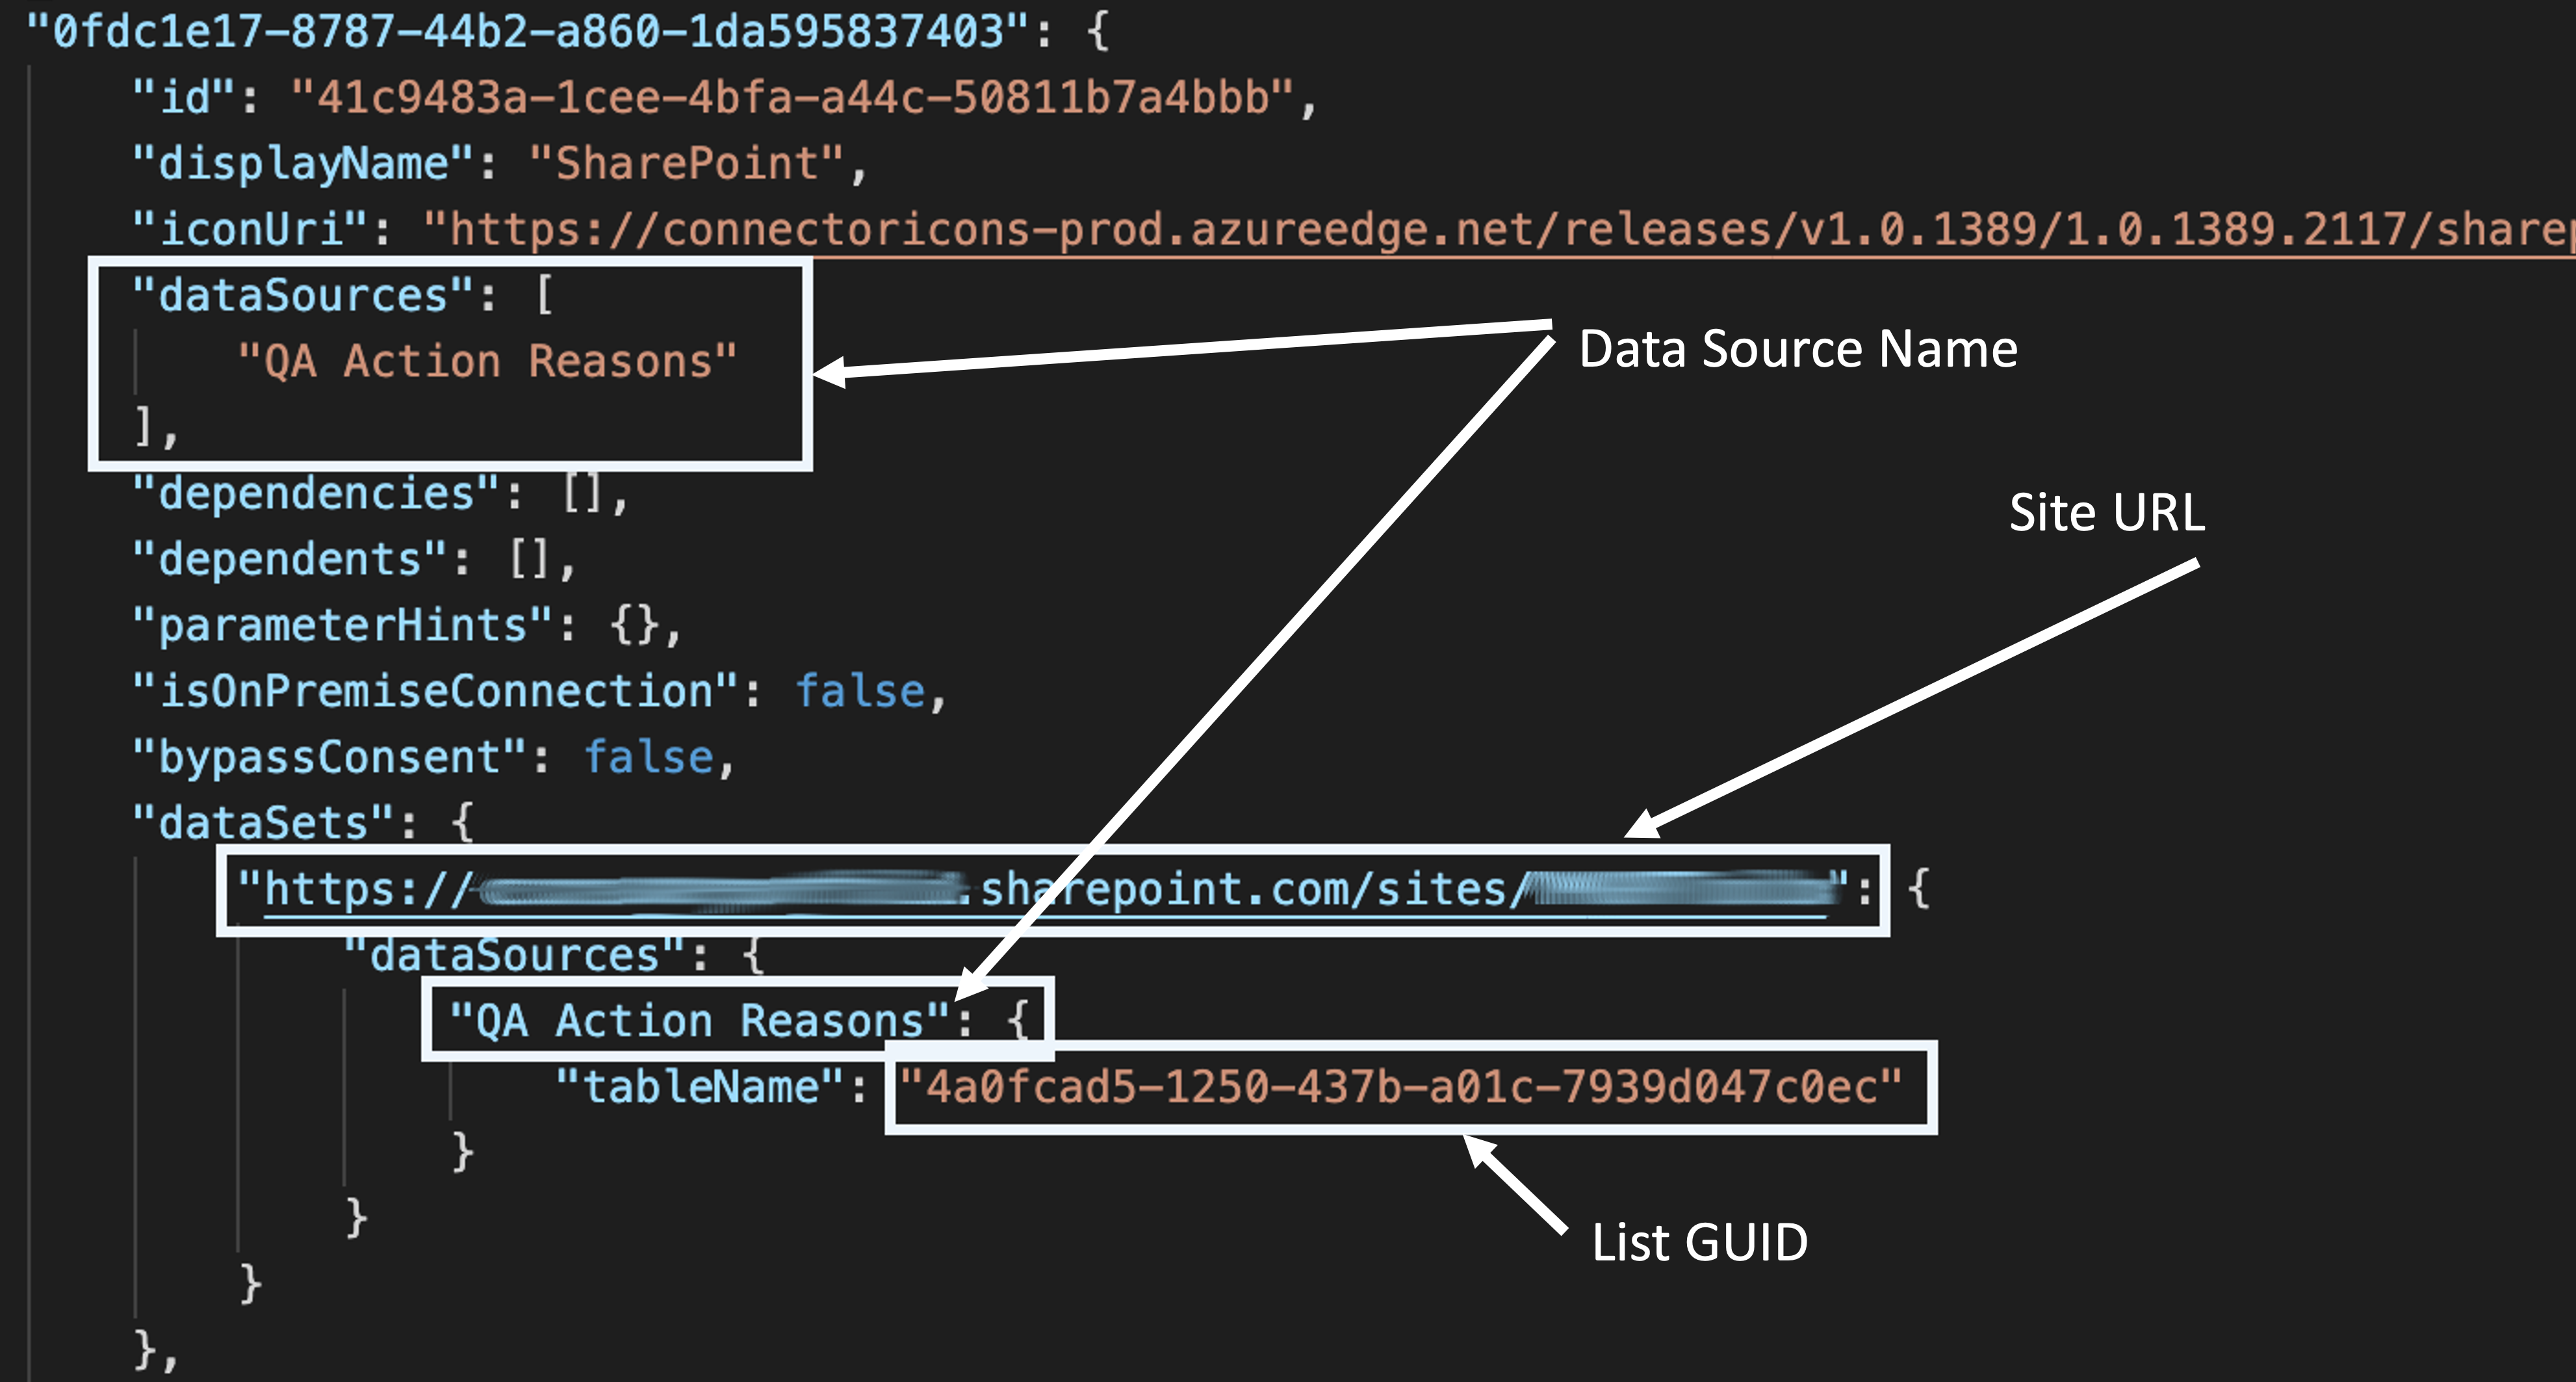
Look for connections with "displayName": "SharePoint", and modify it for your needs:
- To update list connection specify list GUID as
tableNameand site url as section name indataSetsobject - To update the data connection name update the names in
dataSourcessections of the connection
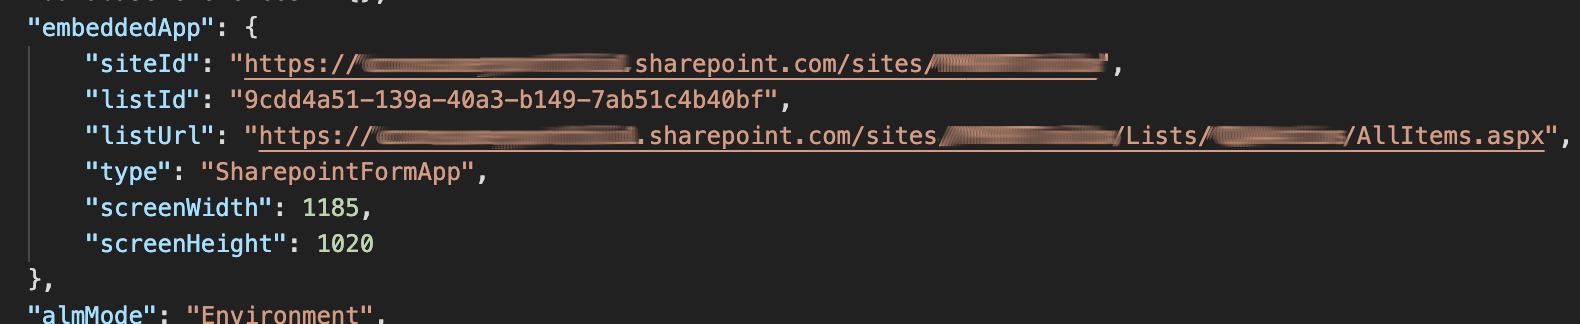
Now, search for embeddedApp section and update siteId, listId, and listUrl with new site Url, list GUID (similarly to dataSets) and list URL.
Updating Data Sources References in the Components
Now, when the data source have been updated, we need to iterate through the app's components and update references to the data sources.
In the same folder as .json file locate .msapp file.
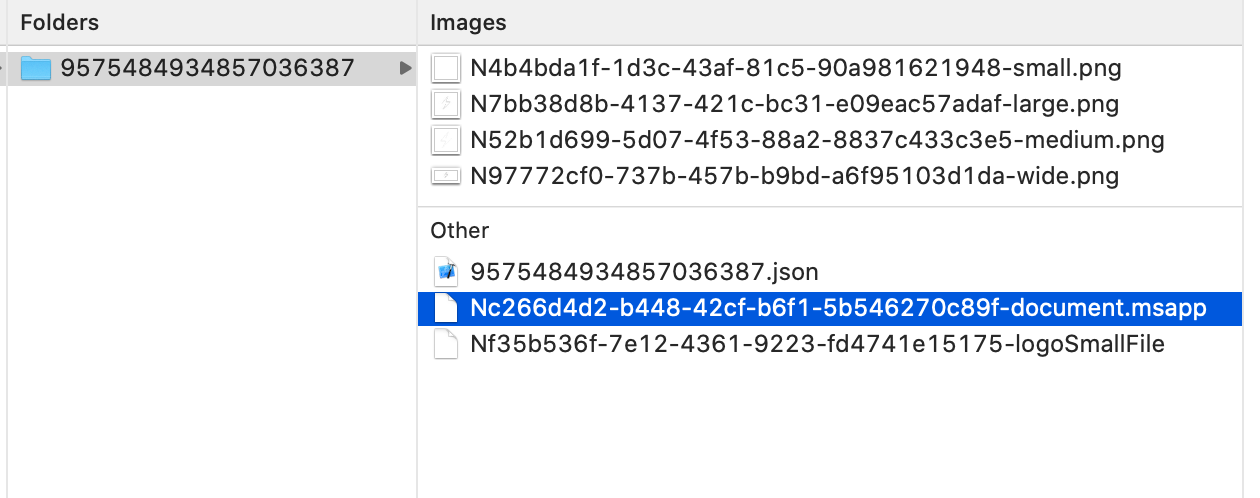
It is also an archive. So, if you rename it to .zip you'll be able to open it as a regular .zip archive.
Inside you'll find a set of .json files.
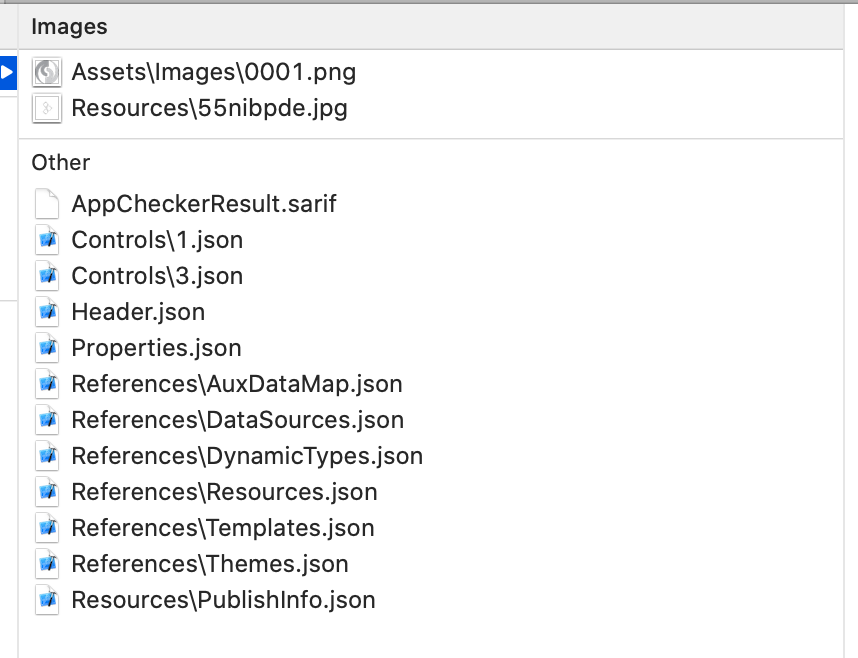
First, you need to open References\DataSources.json file, search for all "old" list GUIDs, URLs, and data sources' name, and replace them with the new ones - same as connectionReferences and embeddedApp sections.
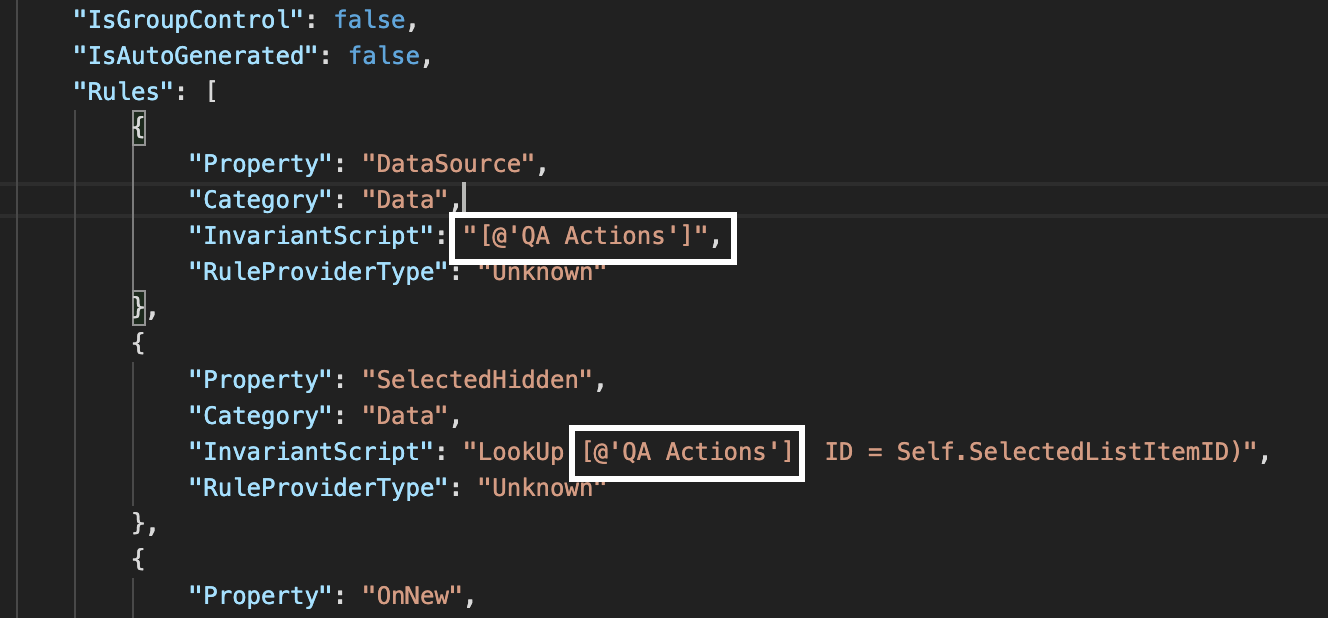
Second, if you renamed the data source(s) you need to iterage through all Controls\*.json files and update the names of the data source(s).

When all the chages are done, you need to rename .zip back to .msapp.
Importing the Package/App
Now you can navigate to Power Apps portal and click Import canvas app on Apps tab and select the .zip package from the import (that now contains all the modifications):
If there are any errors during the import, go back and check that all URLs and GUIDs are correct.
If everything is done correctly, you'll the custom form for the list.
I would also recommend to Edit the from from list (Power Apps -> Customize forms) and check that all the connections are there and all the cards/controls use correct references.
That's all for today!
Have fun!
Comments